Repairing a mobile, laptop, or tablet can be a complex process, but following a structured, step-by-step approach can help you address common issues effectively. Below, we provide a detailed repair guide along with some expert tips to make the process smoother and safer.
Step 1: Diagnose the Problem Before attempting any repair, identify the root cause of the problem. This could involve symptoms like slow performance, screen damage, battery issues, or overheating. Use diagnostics tools and read error messages carefully to narrow down the issue. Expert Tip: Always back up your data before any repair work to avoid losing important information.
Step 2: Gather the Tools and Parts Once the issue is identified, gather all the necessary tools and replacement parts. Depending on the type of repair, you may need screwdrivers, pry tools, replacement screens, batteries, or other components. Make sure you have everything on hand before starting the repair. Expert Tip: Use high-quality parts for replacements to maintain the device’s functionality and avoid compatibility issues.
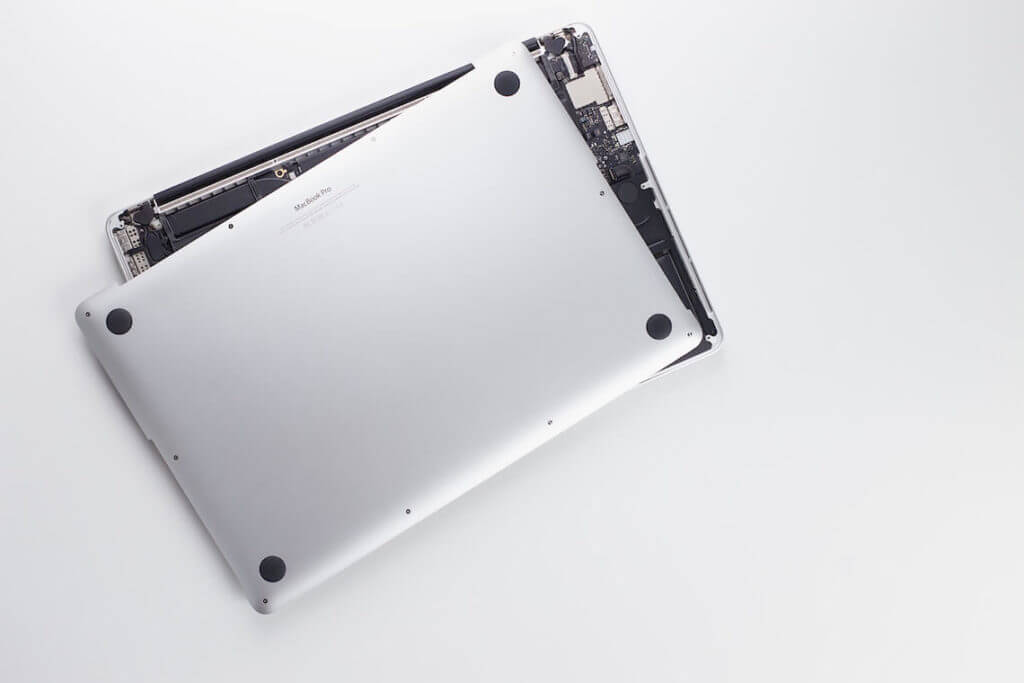
Step 3: Disassemble the Device For many repairs, you will need to disassemble part of the device. Begin by turning off the device and unplugging any power source. Carefully remove any screws and disconnect cables, ensuring you keep track of each component and how it was assembled. Expert Tip: Take photos at each stage to make reassembly easier later on.
Step 4: Replace or Repair Components Once you have accessed the faulty part, proceed with the replacement or repair. For example, if you are replacing a cracked screen, remove the old one completely before carefully installing the new one. If dealing with a faulty battery, ensure proper handling to avoid punctures. Expert Tip: Handle internal components delicately—many parts are fragile and can easily be damaged.
Step 5: Reassemble the Device Once the repair is completed, reverse the disassembly process. Reconnect cables and reattach screws as per your earlier photos or notes. Make sure everything is firmly in place but avoid over-tightening screws, which can damage components. Expert Tip: Use a magnetic mat to keep small screws organized and prevent them from getting lost.
Step 6: Test the Device After reassembly, turn on the device and test its functionality. Check the specific area that was repaired to ensure it’s working correctly, and also verify that other functions remain intact. For instance, if you replaced a screen, check for touch responsiveness and visual quality. Expert Tip: Run a full system check to verify everything is working as expected before wrapping up.
Pro Tips for a Smooth Repair Experience:
Use the Right Tools: Using the correct tools for disassembly is crucial. Improvised tools can slip and cause damage to screws or components.
Work in a Clean Area: Ensure your workspace is clean and well-lit to avoid losing small parts or causing accidental damage.
Static Protection: Use an anti-static wrist strap to avoid static discharge, which can damage sensitive electronic components.
Avoid Rush: Take your time during the repair. Rushing increases the risk of damaging the device or misplacing parts.

Repairing devices can be an intricate process, but with patience and a step-by-step approach, you can tackle many common problems. However, if you’re not comfortable with the process or the issue seems too complex, it’s best to seek help from a professional technician to prevent further damage.